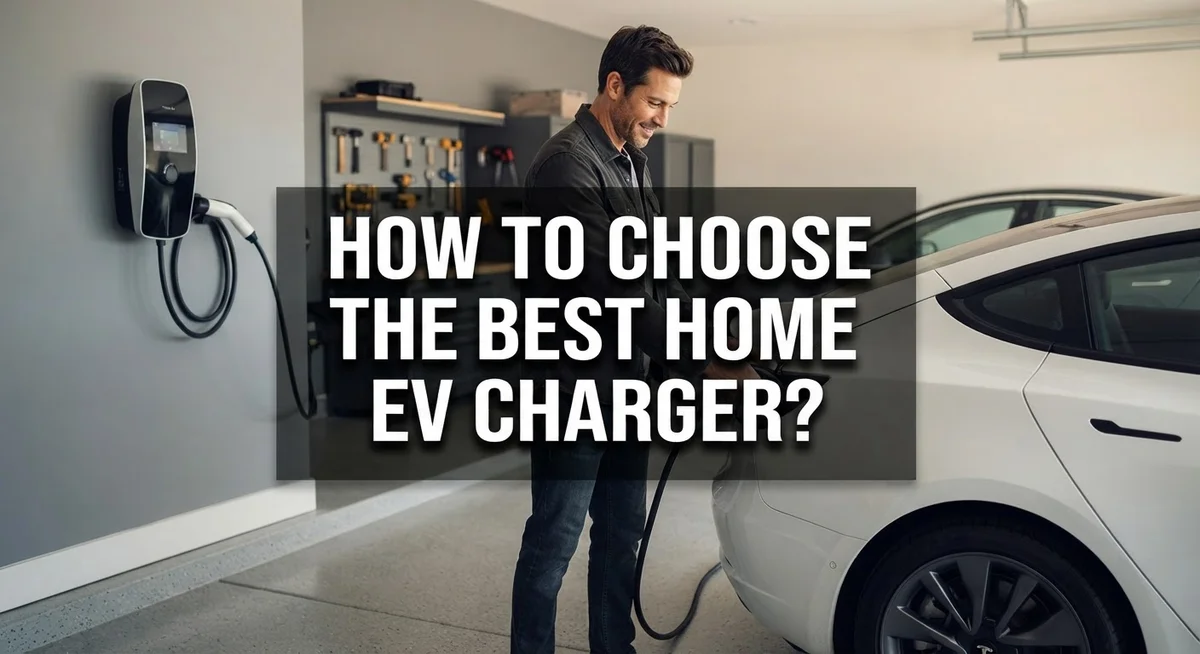
How to Choose the Best Home EV Charger?
Charging your electric car at home sounds simple. But picking the right charger feels like a big decision.
You want something fast, safe, and easy to use. You also want it to fit your budget and your home setup.
The good news? Choosing the best home EV charger does not have to be hard. You just need to know what factors matter most.
Charging speed is one big piece of the puzzle. Your electrical panel capacity is another key factor to check first.
Where you place the charger also makes a difference. A poor location can lead to cable strain or weather damage over time.
This guide walks you through each step. We will cover how to check your home’s electrical capacity. You will learn how to match charging speed to your needs.
We will also explain smart placement tips to avoid common mistakes. By the end, you will feel confident about your choice.
Let’s get started and find the perfect charging setup for your home and your electric vehicle.
In a Nutshell
Choosing a home EV charger comes down to a few key checks. Here is the quick summary:
-
Check your electrical panel first. An electrician can tell you how much power your home can safely support. This step decides which chargers will even work for you.
-
Think about charging speed. Faster chargers cost more but save time. Slower chargers work fine if you charge overnight.
-
Pick the right spot before you buy. Measure the distance from your parking area to the charger location. A shorter cable path means less strain and safer use.
-
Protect the charger from weather. Outdoor installations need covers or shielded spots to avoid damage from rain or sun.
-
Look for smart features you will actually use. Some chargers offer app control, scheduling, or usage tracking. These extras add convenience but are not required.
-
Avoid common mistakes. Do not mount the charger too far from your car. Do not ignore your panel’s limits. Skipping these checks can lead to costly fixes later.
Keep these points in mind, and you will find a charger that fits your home and your driving needs.
Understanding Home EV Charger Types and Charging Levels
Home EV chargers come in three main types, each with different charging speeds and power requirements. Understanding these types helps you pick what works best for your home and driving habits.
Level 1 chargers use a standard household outlet. They deliver about 1.4 to 1.9 kilowatts of power. These chargers are slow but require no special installation. You simply plug in your vehicle like you would a lamp.
Level 1 chargers add roughly 3 to 5 miles of range per hour. This works fine if you drive short distances and charge overnight. However, if you need faster charging, this option may frustrate you.
Level 2 chargers are the most common choice for homes. They use a 240 volt circuit, the same as your electric dryer or oven. These chargers deliver 7 to 19 kilowatts of power depending on your electrical panel capacity.
Level 2 chargers add 25 to 30 miles of range per hour. Most drivers can fully charge their vehicle overnight with this option. Installation requires an electrician to set up the proper wiring and circuit breaker.
DC fast chargers are the fastest option available. They deliver 50 kilowatts or more of power. These chargers are typically found at public stations rather than homes because they need heavy duty electrical infrastructure.
DC fast chargers can add 200 miles of range in 30 minutes. However, they work best up to 80 percent battery capacity. Beyond that point, charging slows down to protect your battery.
Your choice depends on three things: how fast you need to charge, how much power your home electrical system can handle, and your budget. Most homeowners find Level 2 chargers strike the right balance between speed, cost, and practicality. Talk with an electrician to confirm your home can support your chosen charger type.
Assessing Your Home’s Electrical Capacity
Your home’s electrical capacity is the foundation of choosing the right EV charger. Before you buy anything, you need to know what your electrical system can actually handle.
Start by checking your electrical panel. Find out your home’s total amperage capacity. Most homes have panels rated at 100, 150, or 200 amps. Call a licensed electrician to inspect your panel. They will tell you exactly how much power is available for a new charger.
Your electric vehicle charger will need a dedicated circuit. This means it gets its own breaker and wiring. The charger cannot share power with other appliances or outlets. A Level 1 charger uses minimal power. A Level 2 charger typically needs 30 to 50 amps. DC fast chargers require even more capacity, which most homes cannot support.
Consider your current electrical load. What else runs on your panel right now? Air conditioning, heating, water heaters, and major appliances all draw power. If your panel is already near capacity, you may need an upgrade before installing a charger. An electrician can calculate whether you have enough headroom.
Upgrading your electrical panel is possible but expensive. It involves rewiring and installing new equipment. This is why knowing your capacity first matters so much.
Think about what charging speed you actually need. If your home has limited capacity, you might choose a Level 1 charger instead of Level 2. Level 1 charges slower but requires no electrical upgrades. Level 2 offers faster charging but needs more power available.
Do not skip this step. Installing a charger that exceeds your home’s capacity creates safety hazards. It can damage your electrical system or cause fires. An electrician will help you understand your options and recommend the right charger type for your specific situation.
Determining Your Ideal Charging Speed
Your charging speed determines how quickly your EV battery fills up each day. Speed directly impacts your daily routine and long term satisfaction.
The first question is simple: how many miles do you drive each day? If you drive 30 miles daily, a slow charger works fine. If you drive 60 miles or more, you need faster charging to keep up with your schedule.
Consider your typical charging window. Do you charge overnight for 8 hours? Or do you need a quick top up during lunch? Overnight charging allows slower speeds. Daytime charging requires faster options to add meaningful range quickly.
Your electrical panel capacity limits your charging speed options. A 100 amp panel supports different charger speeds than a 200 amp panel. An electrician can measure your available capacity in minutes. This measurement prevents you from buying a charger your home cannot safely support.
Think about future driving patterns too. Your needs might change in two or three years. A faster charger gives you flexibility even if you do not need it today.
Battery chemistry matters for charging speed. Most EVs charge quickly to 80 percent capacity. Beyond 80 percent, charging slows significantly to protect battery health. This means a very fast charger only saves time during the first 80 percent of charging.
Weather affects charging speed as well. Cold temperatures slow charging on many EV models. Hot weather can also trigger thermal management systems that reduce charging speed temporarily.
Balance speed with your actual needs and budget constraints. Faster chargers cost more upfront and may need electrical upgrades. Slower chargers cost less but take longer to charge your vehicle.
Write down your typical daily miles, your available charging time, and your electrical panel capacity. These three numbers guide you toward the right charging speed for your situation. You avoid paying for speed you will never use while ensuring you get the performance you need.
Choosing the Right Installation Location
Your home’s layout plays a huge role in how well your EV charger works. You need to find a spot that balances convenience, safety, and practicality.
Start by identifying where you park your vehicle most often. The charger should sit as close to this spot as possible. Long cable runs create strain on the cord and make charging awkward. If your car parks in a garage, mounting the charger on the garage wall near the vehicle makes sense. If you park outside, consider a wall on your home’s exterior closest to that spot.
Measure the distance from your proposed charger location to where your car sits. Most home chargers come with cables between 20 and 25 feet long. This distance matters because you want the cable to reach comfortably without being stretched tight or draped across walkways where people could trip.
Weather protection is essential for outdoor installations. Direct rain and snow can damage your charger over time. Look for spots under an eave, covered porch, or carport. If your only option is fully exposed, you’ll need to install a protective enclosure or canopy. Avoid placing chargers in low areas where water pools during storms.
Check your home’s exterior walls for obstructions. Pipes, vents, and utility boxes can block ideal mounting spots. You also want good access to your electrical panel since the charger needs a dedicated circuit connected there.
Think about sunlight exposure too. Some chargers have screens that can be hard to read in direct sun. Afternoon shade helps with visibility and keeps the unit cooler during hot weather.
Finally, consider future flexibility. What if you buy a different vehicle or move your parking spot? Choosing a central location gives you more options later without needing expensive reinstallation.
Step-by-Step Process for Selecting Your Charger
Before you buy a charger, confirm your home’s electrical panel can support it. Call a licensed electrician to check your panel’s amperage rating. Most homes have 100 to 200 amp service. Your charger needs a dedicated circuit that doesn’t share power with other appliances.
Understanding your electrical limits prevents expensive mistakes. If your panel is maxed out, you may need an upgrade. This costs money, so know your starting point first.
Next, measure the distance from your parking spot to potential charger locations. A 25 foot cable is standard, but some reach 30 feet. If your car parks far from walls, you’ll need a longer cable or a different location. Cable strain from stretching causes safety issues and damage over time.
Check wall conditions where you plan to install the charger. Is the wall solid concrete, brick, or wood? Does it face direct rain or snow? Outdoor chargers need proper weather protection to last years. Avoid placing chargers in low spots where water pools or where ice builds up in winter.
Look at your home’s exterior for obstacles. Trees, pipes, vents, or gutters can block installation. South facing walls get more sun exposure, which can affect charger performance in hot climates. North facing walls stay cooler but may collect moisture.
Think about future needs too. Will you add another vehicle? Could your parking spot change? Choose a location that offers flexibility without major reinstallation costs.
Finally, verify the wall can support the charger’s weight. Most chargers weigh 30 to 50 pounds. Drywall alone won’t work. You need studs or special anchors rated for that weight.
Take photos of potential locations. Write down measurements and conditions. Share this information with your electrician. They’ll help you pick the best spot that balances safety, convenience, and installation cost.
Weather Protection and Cable Management Tips
Weather protection keeps your charger safe and functional for years. Rain, snow, and extreme temperatures damage exposed equipment quickly. Install your charger under an eave, overhang, or covered carport whenever possible.
If you must mount it on an open wall, use a weatherproof enclosure. These boxes shield the charger from direct rain and UV rays. They also protect the connector and cable from sun damage. Check that any enclosure you choose still allows proper ventilation so the charger doesn’t overheat.
Cable management prevents tripping hazards and extends cable life. Your charging cable should take the shortest path from the charger to your vehicle. Long cables draped across driveways create safety risks. Secure excess cable with clips or conduit along the wall. This keeps it organized and off the ground.
Never let the cable hang loosely or get pinched by doors. Pinched cables can damage the insulation and create fire risks. Use cable management systems designed for outdoor use. These withstand temperature swings and UV exposure better than indoor alternatives.
Consider cable length carefully during installation planning. A 25 foot cable reaches most driveways comfortably. Longer cables cost more and create management challenges. Shorter cables work if your parking spot sits close to the charger location.
Keep the connection point clean and dry. Moisture entering the connector causes corrosion and connection failures. Wipe the connector dry before and after each use during wet weather. Store the connector in a protective cap when not charging.
Proper cable storage matters too. Coil cables loosely rather than tightly wrapping them. Tight coils stress the insulation and internal wires. Loose coils reduce strain and extend cable lifespan significantly.
Install the charger at a height that keeps the connector accessible but protected. Too low and puddles splash the connection. Too high and you strain reaching it. Most installers mount chargers between 4 and 5 feet from the ground for easy access and safety.
Common Mistakes to Avoid When Choosing a Home Charger
Ignoring your home’s electrical capacity is the biggest mistake people make. Your electrical panel has a maximum amperage it can handle. Installing a charger that exceeds this capacity causes problems or requires expensive upgrades. Always contact a licensed electrician to check your panel’s available capacity before shopping for a charger.
Placing your charger too far from where you park creates daily frustrations. A charger mounted on the opposite side of your garage from your parking spot means stretching cables across walkways. This creates safety hazards and puts unnecessary strain on the charging cable. Measure the exact distance from your typical parking location to potential charger spots before installation.
Using incompatible adapters or connectors is another common error. Different vehicles use different connector types. Forcing incompatible connections damages both your charger and vehicle equipment. Verify your vehicle’s connector type matches your charger before purchase.
Neglecting weather protection for outdoor installations causes premature failure. Rain, snow, and extreme temperatures damage exposed electrical components. Your charger must have proper weatherproof housing if mounted outdoors. Even covered areas need protection from moisture and temperature swings.
Underestimating cable management needs leads to damaged cables and tripping hazards. Cables left loose or pinched by doors wear out quickly. Plan cable routing during the location selection phase, not after installation.
Choosing charging speed without considering your actual needs wastes money. If you only drive short distances daily, a slower charger works fine. Buying an expensive fast charger when you don’t need it is unnecessary spending. Match the charger speed to your realistic daily driving patterns and available charging time.
Finally, skipping professional installation creates safety risks. Improper electrical connections cause fires or equipment damage. Professional installers ensure everything meets local electrical codes and safety standards.
Final Thoughts
Choosing a home EV charger comes down to three simple things. You need to know your charging speed needs, your electrical capacity, and the best location for installation.
These three factors work together. A powerful charger means nothing if your panel cannot support it. A great location means nothing if the cable cannot reach your car comfortably.
Take your time with this decision. Rushing leads to costly mistakes. Slow down and check each factor carefully before you commit to a purchase.
Talk to a licensed electrician early in the process. They can confirm your panel capacity and suggest safe installation options for your home.
Your daily charging habits matter too. Think about how you actually use your car. Someone who drives long distances daily has different needs than someone who drives short trips around town.
Weather protection and cable management are not optional extras. They protect your investment and keep your charger working well for many years.
Smart features add convenience but are not essential. Focus first on the basics like power, safety, and location. Add extra features only if your budget allows it.
Remember that a home charger is a long term investment. It should serve your needs for many years, so plan ahead for possible changes.
Future proofing is worth the extra thought. Consider if you might buy an electric vehicle with different charging needs later. This helps you avoid replacing your charger too soon.
In the end, the best charger fits your home, your car, and your lifestyle. There is no single perfect option for everyone.
Do your research, ask the right questions, and consult professionals when needed. This approach leads to a safe and satisfying charging setup for your home.
Frequently Asked Questions
How do I know if my home’s electrical system can support a charger?
Your electrical panel has a maximum amperage capacity. Most homes have either 100, 150, or 200 amp service. A licensed electrician can check your panel and tell you exactly what’s available. They’ll measure how much power other appliances use and determine what capacity remains for your charger.
Don’t guess about this. Installing a charger that exceeds your panel’s capacity creates fire hazards and electrical damage. Call an electrician before you buy anything.
What’s the difference between Level 1, Level 2, and DC fast charging?
Level 1 uses a standard wall outlet. It charges slowly, adding about 2 to 5 miles of range per hour. Most people don’t choose this for home installation.
Level 2 requires a dedicated circuit. It adds 25 to 30 miles of range per hour. This works well for overnight charging at home.
DC fast charging adds 200 plus miles per hour. It’s rarely installed at homes because it needs three phase power that most residential properties don’t have.
How far should the charger be from where I park?
Keep your charger as close as possible to your parking spot. Cables have limited reach, typically 20 to 25 feet. Stretching cables across long distances causes strain and creates tripping hazards.
Measure from your vehicle’s charge port to potential wall locations before installation. This prevents costly repositioning later.
Do I really need smart features on my charger?
Smart features let you monitor charging remotely and schedule when charging happens. They’re convenient but not essential for basic functionality.
Focus first on reliable power delivery, safety, and proper location. Smart capabilities can enhance your experience, but they shouldn’t drive your purchasing decision.

Philips is the founder and lead writer at GearheadGarageFinds.com, a passionate automobile enthusiast who has spent years testing, comparing, and reviewing auto products and accessories to help fellow gearheads make smarter buying decisions. When he’s not under the hood or behind the keyboard, you’ll find him exploring the latest automotive innovations and hunting for the best garage finds on the market.