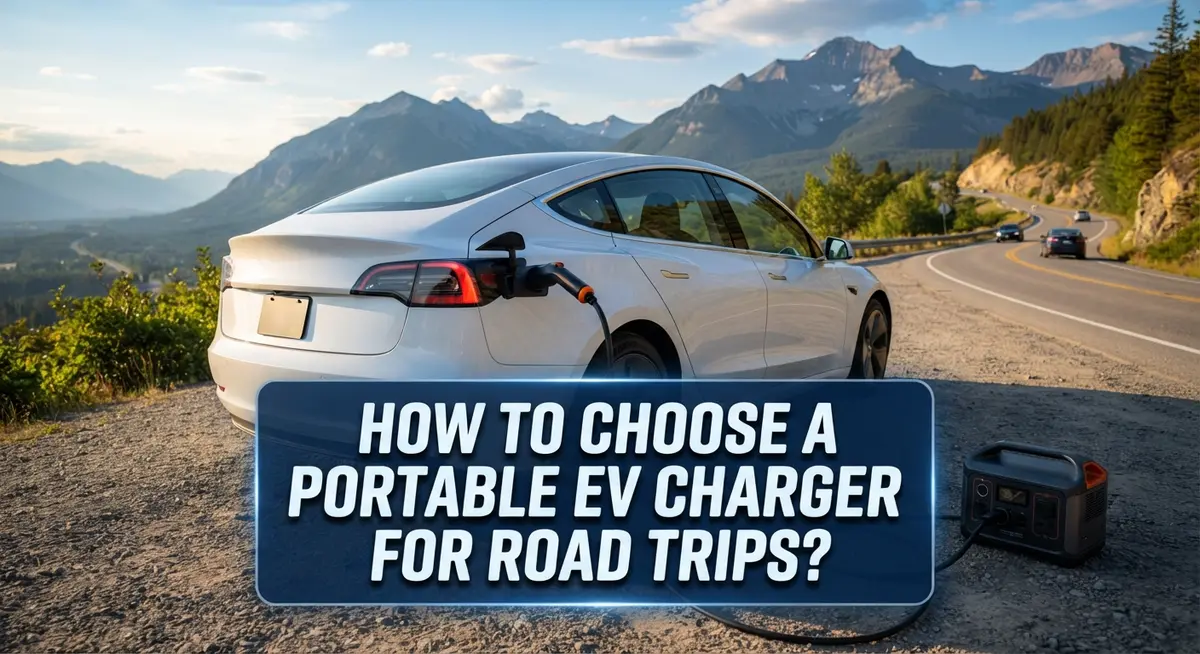
How to Choose a Portable EV Charger for Road Trips?
Planning a road trip in your EV? A good portable charger can make or break your journey.
Running out of charge in the middle of nowhere is every EV driver’s fear. The right charger keeps that fear away.
Portable EV chargers come in different types. Each one offers a different charging speed and design.
Choosing the wrong charger can leave you stuck. You might wait hours at a slow charging spot. Or worse, you might not find one at all.
This guide helps you pick a portable EV charger that fits your travel needs. We will look at voltage levels and why they matter for your trip.
You will learn how amperage affects charging speed. We will also cover cable length and why it makes daily use easier.
Route planning plays a big role too. Knowing where to charge helps you avoid stress on the road.
By the end of this article, you will know exactly what to look for. You will feel confident picking a charger that matches your driving habits.
Let’s get your road trip ready with the right charging setup.
In a Nutshell
Here’s a quick summary to help you choose the right charger fast.
-
Check the voltage level first. This is the biggest factor. It depends on how far you drive daily and if you need overnight charging.
-
Look for Level 2 chargers. They charge much faster than standard options. Aim for a minimum of 32 amps for solid performance.
-
Plan your route ahead of time. Use apps like A Better Route Planner or Google Maps. This helps you spot charging stations along the way.
-
Pick a longer cable. A cable of at least 18 feet gives you more flexibility. Cables can range from 12 to 25 feet depending on the model.
-
Match amperage to your needs. Higher amperage means quicker charging. Don’t overlook this spec when comparing chargers.
-
Avoid common mistakes. Skipping route planning or choosing short cables can leave you stranded. Always check specs before you hit the road.
Follow these points and your next road trip will feel much smoother.
Understanding Portable EV Chargers and Charging Levels
Portable EV chargers work by converting electrical power from a wall outlet into energy your vehicle can store. Understanding how they function helps you pick the right one for your trip.
Charging happens at different speeds based on the electrical system powering your charger. The voltage and amperage determine how quickly your battery fills up. Higher numbers mean faster charging, which matters when you’re on a tight schedule.
Level 1 chargers use standard household outlets. They deliver around 120 volts and charge very slowly. Most EV owners skip these for road trips because they add only 2 to 5 miles of range per hour.
Level 2 chargers are the sweet spot for travelers. They require a 240 volt connection and deliver 32 to 50 amps or more. You get 25 to 30 miles of range per hour, depending on your vehicle and charger specs. This speed makes overnight charging realistic.
Amperage is your charging speed controller. Think of it like the width of a water pipe. A 32 amp charger fills your battery faster than a 16 amp model. For road trips, aim for minimum 32 amps to keep delays short.
Cable length affects where you can charge. A short cable limits your options at parking spots. An 18 foot cable or longer reaches most parking spaces comfortably. Some locations have chargers far from vehicle spots, so extra length saves frustration.
Your vehicle’s onboard charger also matters. It limits how much power it accepts, regardless of what your portable charger offers. Check your owner’s manual to see your car’s maximum charging capacity.
Understanding these basics prevents costly mistakes. You won’t waste money on chargers too weak for your needs or miss charging opportunities due to cable limitations. Knowledge about voltage, amperage, and cable length makes you confident before you hit the road.
Assessing Your Road Trip Charging Needs
Before you hit the road, take time to understand what your EV actually needs during travel. Your daily driving distance is the starting point. If you drive 200 miles per day, you need different charging capability than someone driving 100 miles daily.
Next, map your entire route using navigation tools to see where public chargers exist. This tells you whether you truly need a portable charger or if public infrastructure covers your journey. Some routes have abundant chargers every 50 miles. Others have large gaps requiring backup charging power.
Consider your vehicle’s battery capacity and real world range. A car with 300 miles of range faces different charging demands than one with 150 miles. Your actual range also shrinks in cold weather and at highway speeds, so plan conservatively.
Think about your charging schedule during the trip. Will you charge overnight at hotels? Can you charge during meal breaks? Your answers change what charger specs you actually need. Overnight charging at accommodations means you can use slower chargers. Quick top ups during stops demand faster charging speeds.
Evaluate your vehicle’s onboard charger capability. Some EVs accept higher amperage than others. Your portable charger can only work as fast as your vehicle allows. Check your owner’s manual for maximum charging input your car supports.
Finally, assess your comfort level with technical details. Do you want simplicity, or are you comfortable managing different voltage and amperage settings? Some travelers prefer straightforward plug and play options. Others want maximum control over charging parameters.
This assessment prevents you from buying a charger that doesn’t match your actual travel patterns. You might discover that public charging networks handle your needs completely. Or you might realize you need a specific amperage rating for your planned route. Either way, you make informed decisions before purchasing anything.
Key Specifications to Evaluate: Voltage, Amperage, and Cable Length
Voltage and amperage work together to determine how fast your charger delivers power to your battery. Voltage is the electrical pressure pushing power into your vehicle, while amperage is the volume of current flowing through the cable.
Most portable EV chargers operate at either 120 volts or 240 volts. Standard household outlets provide 120 volts, which charges very slowly. For road trips, you need a charger that can access 240 volt outlets, which are common at hotels, rest areas, and charging stations.
Amperage ratings typically range from 16 to 50 amps on portable chargers. A 32 amp charger is the minimum you should consider for travel. Higher amperage like 40 or 50 amps charges significantly faster, which matters when you only have a few hours to rest overnight.
Cable length directly affects your charging flexibility. An 18 foot cable lets you reach outlets that are farther from your parking spot. Some outlets sit in inconvenient locations, so extra reach prevents frustration. Most portable chargers offer cables between 12 and 25 feet. Longer cables weigh more and take up extra space, so balance your needs with what you can carry.
Check your vehicle’s onboard charger specifications before buying. Not all EVs accept the same amperage levels. Your car’s manual tells you the maximum amps it can safely accept. Pairing a high amperage charger with a vehicle that only accepts 16 amps wastes money.
The combination of 240 volts, 32 amps minimum, and an 18 foot cable creates a practical setup for most road trips. This combination charges your battery faster than lower specs while offering reasonable portability. Verify these specs match your vehicle’s requirements and your typical overnight charging windows to avoid purchasing equipment that doesn’t serve your actual travel needs.
Step-by-Step Guide to Choosing the Right Charger
Start by determining what your vehicle can actually handle. Check your owner’s manual for your EV’s maximum charging input. Some vehicles accept 32 amps while others can handle 48 or 50 amps. Your car’s capability sets the ceiling for what a charger can deliver.
Next, think about your typical daily driving distance during the trip. If you drive 200 miles per day, you need a charger that can replenish that range overnight. If you drive 100 miles daily, you have more flexibility. This directly impacts which voltage and amperage combination makes sense for you.
Research the charger locations along your planned route. Use navigation tools to identify charging stations at hotels, rest stops, and destinations. Some areas have abundant options while rural routes may have gaps. This determines whether you need maximum charging speed or if moderate speed works fine.
Amperage matters more than you might think. A 16 amp charger charges slowly. A 32 amp charger charges significantly faster. A 50 amp charger charges even quicker. Higher amperage means less time plugged in at each stop. For road trips, faster charging reduces your overall travel time.
Voltage selection depends on outlet availability. Most homes and many hotels have 120 volt outlets. Some locations offer 240 volt outlets. If your route includes 240 volt access, a 240 volt charger becomes valuable. If you’ll mostly find 120 volt outlets, that changes your selection.
Cable length affects your charging success. A short cable limits where you can park. An 18 foot cable reaches outlets that are farther away. Longer cables give you more parking flexibility when you arrive at a charging location.
Consider the weight and storage space in your vehicle. Portable chargers add bulk. Ensure you have room for your charger plus luggage for the entire trip. A lighter charger means easier handling during your journey.
Planning Your Route Around Charging Availability
Route planning is your foundation for successful road trip charging. You need to know where chargers exist before you leave home, not discover gaps when your battery runs low.
Start by using mapping tools to identify public charging stations along your planned route. These tools show charger locations, availability status, and network information. Mark stations that align with your daily driving distance and rest breaks.
Check charger networks carefully. Some stations use different payment systems or require membership. Verify that your vehicle works with the charger types you’ll encounter. This prevents arriving at a station only to find incompatible equipment.
Calculate realistic charging windows into your trip schedule. If you drive 200 miles daily and your EV has a 250 mile range, you need charging stops. Plan stops at locations where you can spend 30 minutes to 2 hours comfortably. This might mean charging during meals or rest breaks.
Identify backup chargers along your route. Don’t rely on a single charging station per day. Multiple options reduce stress if a charger is occupied or malfunctions. Backup stations give you flexibility and peace of mind.
Consider seasonal factors affecting charger availability. Some rural areas have limited options. Winter driving reduces vehicle range significantly, requiring more frequent charging stops.
Research charger speeds at stations you’ll use. A Level 2 charger with 32 amps charges faster than a lower amperage unit. Knowing typical charge times helps you plan realistic rest periods.
Document your route with specific charger addresses and contact information. Store this information on your phone and in printed form. Include network phone numbers for support if issues arise.
Route planning with charger availability in mind prevents frustration and keeps your trip on schedule. This preparation is more important than any single charger specification you select.
Common Mistakes to Avoid When Selecting a Charger
Many people make critical mistakes when choosing a portable EV charger for road trips. Understanding these errors helps you avoid wasting money on equipment that won’t work for your needs.
Ignoring your vehicle’s actual charging capacity is a common problem. Your car has specific voltage and amperage limits built into its onboard charger. Buying a charger that exceeds these limits won’t help you. You’ll only charge at your vehicle’s maximum rate regardless. Check your owner’s manual or vehicle documentation first.
Underestimating cable length needs causes real frustration on the road. A short cable forces you to park directly next to an outlet. This rarely happens in parking lots or rest areas. You might find yourself unable to use available chargers simply because you can’t reach them. Longer cables give you flexibility and access to more charging opportunities.
Overlooking amperage ratings is another frequent mistake. Lower amperage means slower charging speeds. If you’re on a tight schedule, a 16 amp charger might add hours to your trip compared to a 32 amp option. Your charging time directly affects your road trip timeline and stress levels.
Failing to verify outlet availability along your route creates serious problems. Not every location has 240 volt outlets readily accessible. Some rest stops only offer 120 volt options. You might arrive at a charger location only to discover it won’t work for your equipment. Research the actual outlet types at stations along your planned route before purchasing.
Neglecting weight and portability affects practical usability. A charger sitting in your trunk needs to be manageable. Heavy equipment becomes frustrating when you need to set it up multiple times daily. Consider how often you’ll handle it and whether your vehicle has adequate storage space.
These mistakes compound during long journeys, turning your road trip into an exhausting experience rather than an enjoyable adventure.
Troubleshooting Common Charging Issues on the Road
When you’re charging on the road, problems happen. Understanding how to fix them keeps your trip moving smoothly.
Slow charging speeds often frustrate travelers. This usually means your charger isn’t matching your vehicle’s capabilities. Check if you’re using the correct voltage level for your outlet. A Level 2 charger needs a 240 volt outlet. If you’re plugged into a 120 volt outlet instead, expect much slower speeds. Verify the amperage rating too. Higher amperage delivers faster charging, so confirm your charger and vehicle are communicating properly.
Connection failures stop charging entirely. First, inspect your charging cable for damage or debris. Clean the connector ends gently. Make sure the cable is fully seated in both the vehicle port and the wall outlet. Sometimes the issue is the outlet itself. Test it with another device to confirm power is flowing. If the outlet works but charging won’t start, try a different charging location.
Overheating during charging requires immediate attention. Unplug the charger and let everything cool down. Overheating usually signals an electrical problem. Never ignore this warning. Resume charging only after everything reaches normal temperature.
Payment or access issues at public stations waste valuable time. Keep your membership cards and apps updated before your trip. Have backup payment methods ready. If a station won’t accept payment, move to your next planned location rather than spending time troubleshooting.
Weather complications affect outdoor charging. Heavy rain or extreme cold can slow charging speeds or trigger safety shutdowns. Plan longer charging windows during bad weather. Keep your charger dry and protected.
Document charging problems as they occur. Note the location, time, and what went wrong. This information helps you avoid similar stations later. Stay calm and move forward. Most issues have simple solutions when you know what to look for.
Final Thoughts
Choosing the right portable EV charger makes your road trip smooth and stress free. The best charger fits your driving habits, not just your budget.
Think about your daily distance first. Short trips need less power. Long drives across states need faster charging and reliable specs.
Level 2 chargers with 32 amps or more give you the speed you need. They cut charging time significantly compared to standard options.
Cable length matters more than people expect. A cable under 18 feet limits where you can park and charge. Longer cables give you freedom at odd parking spots.
Route planning ties everything together. Your charger choice only works well if you know where to use it. Map your trip before you leave home.
Check charging networks along your path. Different networks have different rules and payment methods. Knowing this ahead saves time and frustration.
Weight and size still count for storage. A charger that fits easily in your trunk makes packing simpler. You want space for luggage too.
Avoid common mistakes like ignoring voltage needs or skipping cable length checks. These small oversights cause big headaches later.
Testing your charger before the trip helps too. Plug it in at home first. Confirm it works with your vehicle’s charging port.
Every road trip differs. Your charger should match your specific vehicle, route, and daily driving pattern. There’s no single perfect charger for everyone.
Take time to compare specs like voltage, amperage, and cable length. These three factors decide how well your charging experience goes.
A little preparation now means fewer surprises later. Choose wisely, plan your route, and enjoy the freedom of the open road with confidence.
Frequently Asked Questions
Do I really need a portable EV charger for road trips?
It depends on your vehicle’s range and how far you’re traveling. If your daily driving distance exceeds your car’s battery capacity, a portable charger becomes essential. Route planning is the real answer here. Use navigation apps to check charger locations along your path. If public stations are plentiful and conveniently spaced, you might skip a portable unit. If your route has gaps between stations, you’ll want one for backup.
What voltage level should I choose?
Level 2 chargers work best for road trips. They deliver faster charging than Level 1 options, which plug into standard outlets and charge very slowly. Level 2 chargers require 240 volt outlets and provide meaningful charge increases overnight or during meal breaks.
Most vehicles benefit from Level 2 charging on extended journeys. Check your vehicle’s specifications to confirm it supports Level 2 charging before purchasing.
How important is cable length?
Cable length matters more than most people realize. Aim for a minimum of 18 feet to reach outlets that aren’t directly beside parking spots. Some chargers offer 12 feet, while others extend to 25 feet. Longer cables give you flexibility when outlets are positioned awkwardly.
What amperage rating do I need?
Look for chargers with 32 amps or higher. Higher amperage means faster charging speeds. A 32 amp charger delivers noticeably quicker results than lower options. If you’re stopping frequently for short charges, higher amperage saves valuable time during your journey.
Should I test the charger before my trip?
Absolutely. Test it at home first to confirm compatibility with your vehicle and understand how it operates. This practice prevents surprises on the road when you need it most.

Philips is the founder and lead writer at GearheadGarageFinds.com, a passionate automobile enthusiast who has spent years testing, comparing, and reviewing auto products and accessories to help fellow gearheads make smarter buying decisions. When he’s not under the hood or behind the keyboard, you’ll find him exploring the latest automotive innovations and hunting for the best garage finds on the market.