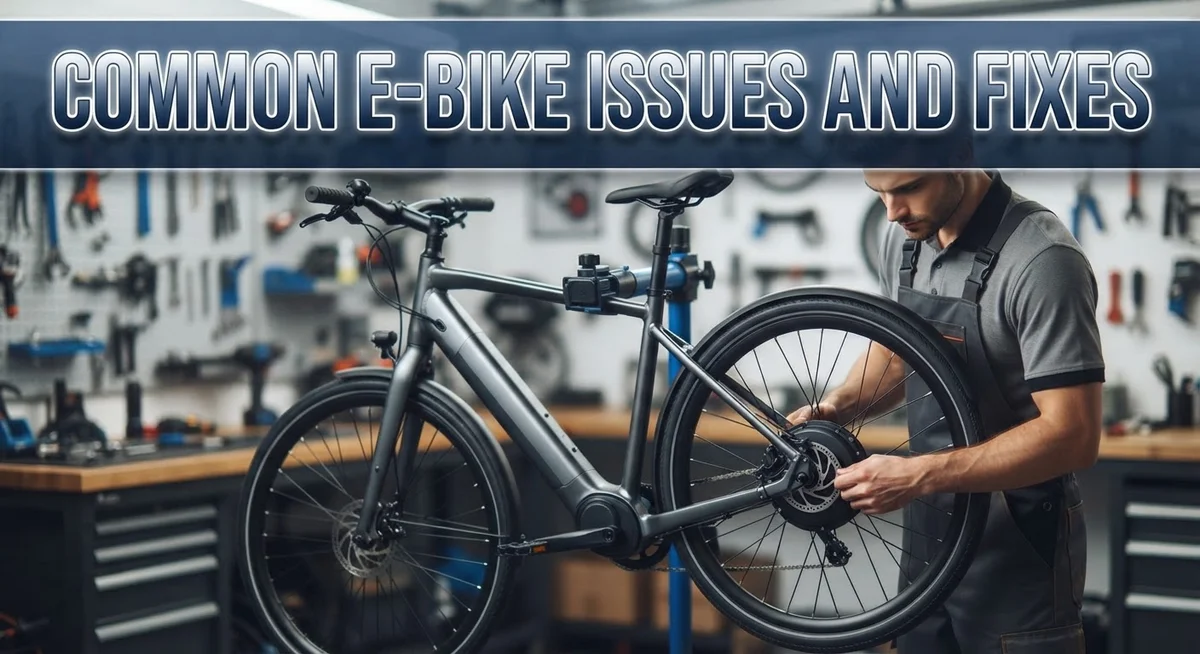
Common E-Bike Issues and Fixes: A Troubleshooting Guide for Riders
Your electric bike stops mid-ride, and your commute suddenly feels long. Many riders face this moment sooner or later. The good news is that most ebike problems have simple fixes.
Most issues come from a few key areas. These include the battery, the motor, the wiring, the brakes, the tires, and the display.
Riders often ask why the bike won’t turn on or speed up. Others wonder why the battery won’t charge, loses range, or swells.
This guide answers those questions step by step. You will learn how to check tire pressure and brake function. You will also learn how to confirm the battery is connected and charged.
We will cover fuse checks and wiring inspections too. Foldable models can develop loose connections, so we will look at those as well.
Finally, you will see common mistakes, like poor bike fit and choosing the wrong type of ebike.
Let’s get your bike back on the road.
In a Nutshell
-
Know the main trouble spots. Most ebike problems start in one of six areas. These are the battery, motor, wiring, brakes, tires, and display or controls. Knowing this list helps you narrow down the cause quickly.
-
Start with the basics. Check that your tires hold the right air pressure. Then test both brakes before every ride. These two checks take less than a minute and prevent many issues.
-
Look at the battery early. Confirm it sits firmly in its mount and holds a full charge. Swelling, slow charging, or shorter range often point to a failing battery. Stop using a swollen battery right away.
-
Check the fuse and wiring. Replace the fuse if it has blown. Then inspect cables for damage and look for loose plugs. Folding models often develop loose connections because of repeated movement.
-
Keep up with brake care. Adjust your brakes on a regular schedule. Replace worn pads and rotors as soon as they lose stopping power.
-
Use trusted troubleshooting help. Step by step guides explain motor cutouts and error codes. Expert mechanic video walkthroughs also show fixes for problems that come up again and again.
Where E-Bike Problems Usually Start: The Main Trouble Areas
Most electric bike problems start in a few key parts. The battery, motor, wiring, brakes, tires, and display all work together. When one part fails, the whole ride can feel wrong. Knowing where trouble usually begins helps you act faster.
The battery is the first place to check. It can swell, stop charging, or lose range over time. Swelling is a clear warning sign. A battery that bulges should stop charging right away and be handled with care.
The motor depends on steady power from the battery. Motor cutouts often happen when the system overheats or detects a fault. A cutout may clear after a short rest. Repeated cutouts usually point to a deeper issue that needs a closer look.
Wiring and connections cause more trouble than most riders expect. Foldable models are especially prone to faulty wires. Loose plugs near the frame hinge can interrupt power. Look for cracks, rubbing spots, and corroded pins.
Brakes and tires affect your safety first. Worn pads, bent rotors, or low air pressure reduce your stopping power. Squeeze the brake lever and listen for scraping sounds. Press the tire with your thumb to feel for soft spots.
The display and controls send signals to the motor. A cracked screen or a loose handlebar switch can make the bike seem dead. Error codes often point to the exact problem. Write down the code before you start testing.
A small fuse protects the whole system. A blown fuse can cut power without warning. Find the fuse holder near the battery and inspect it first.
Start your checks in a set order. Begin with the battery, then move to wiring, brakes, and tires. This order keeps your work organized. It also helps you spot patterns much faster.
Quick Pre-Troubleshooting Checks: Tires, Brakes, and Basic Connections
Before you dig into complex parts, run a few quick checks. These simple steps often reveal the problem in minutes. They also prevent you from opening panels or testing wires when the fix is easy.
Start with your tires. Press each tire with a gauge and compare the reading to the number printed on the sidewall. Low pressure makes the bike feel sluggish and drains the battery faster.
Check the tread too. Look for cuts, bulges, or embedded glass. Spin each wheel by hand to spot wobbles. A damaged tire can cause flats or slipping on wet roads.
Next, test your brakes. Squeeze each lever firmly and watch how the wheel responds. If the lever feels soft or reaches the grip, the brakes need attention.
Look at the brake pads. Thin or glazed pads lose grip, so replace them when the wear lines disappear. Also check that the rotor is straight and clean.
Now move to the basic connections. Make sure the battery clicks firmly into its mount and the locking key is turned. A loose battery can cut power without warning.
Inspect the plugs near the motor and display. Look for bent pins, dirt, or moisture. Gently push each connector until it seats fully.
Finally, confirm the fuse. Find the fuse holder, remove the fuse, and look for a broken filament or dark scorch marks. Replace it with one that has the same rating.
Once these checks pass, you can move on to deeper testing. Keep a simple log of your findings. This habit helps you spot patterns and speeds up future repairs.
Battery Problems: Not Charging, Losing Efficiency, and Swelling
Lithium batteries charge best at room temperature. Bring the battery indoors and let it warm up or cool down before you plug it in.
Losing efficiency is another common complaint. You may notice shorter range or weaker assist. Batteries lose capacity as they age, usually after several hundred charge cycles.
Try a full charge and a full discharge. Charge the battery to 100 percent, then ride until it shuts off. Repeat this cycle two or three times. This can help the battery management system read the true capacity.
Also check your riding habits. Heavy loads, steep hills, and high assist levels drain power fast.
Battery swelling is serious. A swollen battery case looks puffed or bulged. It may also feel hot or smell odd. Stop using the battery right away.
Never charge a swollen battery. Move it outdoors or to a safe spot away from anything flammable. Handle it with care. Contact the manufacturer or a certified recycling center for disposal.
Swelling often comes from heat, overcharging, physical damage, or old age. Store the battery in a cool, dry place. Avoid leaving it on the charger for days.
E-Bike Won’t Turn On or Speed Up: Step-by-Step Diagnosis
Start with the power button. Press and hold the button for a few seconds. If nothing lights up or appears on the display, move to the next check.
Confirm the battery is switched on. Many bikes have a separate key switch or battery lock on the frame. Turn the key to the on position. Some models need the battery pushed firmly into the mount until it clicks.
Check the speed sensor magnet. On many electric bikes, a small sensor reads a magnet on the spokes. If the magnet is bent or the gap is too wide, the motor may not respond. Straighten the magnet gently and align the sensor within a few millimeters.
Test the pedal assist and throttle. Set the assist level above zero. Some riders select the lowest mode by mistake. Lift the rear wheel off the ground before you press the throttle.
Perform a full system reset. Turn off the display and remove the battery for about five minutes. Reinstall it, then power on again. This clears many small software glitches.
Check for unusual sounds or smells. A burnt smell or a grinding noise points to a bigger issue. Stop riding right away if you notice smoke or heat.
Know when to stop and get help. If the bike still does not respond, take it to a qualified bike shop. Mention every step you tried. This saves time and helps the technician find the cause faster. Write down the steps and results.
Keep a log. Note the date, the battery level, and what changed. Patterns reveal the cause.
Wiring, Fuses, and Loose Connections: Inspection and Repair Basics
Wiring problems often hide behind symptoms that look like battery or motor failure. Good inspection starts with a slow, careful look at every cable.
Use a flashlight and follow each wire from the battery to the motor. Look for cuts, flat spots, scuffs, or wires that pull away from the frame.
Pay close attention to bends. Wires that rub against the frame or a fender can wear through over time. A zip tie that pinches a wire can also cause hidden damage.
A blown fuse often signals a short circuit somewhere in the system. Always replace it with a fuse that has the same amp rating. A higher rating can overheat the wires and cause damage.
Loose connections are another common culprit. Gently tug on each connector. A plug that slides out or wiggles needs attention. Also look for green or white powder on the metal pins, which signals corrosion.
To repair a loose plug, first switch off the system and disconnect the battery. Clean the pins with a dry cloth or electrical contact cleaner. Then press the connector firmly until it clicks.
Heat marks tell a story too. Brown or melted plastic around a plug means the connection carried too much resistance. Replace the connector and any damaged wire section.
Wrap joints with heat shrink tubing or electrical tape. Keep wires away from moving parts, and secure them with clips.
After any repair, test the bike in a safe space. Turn the system on and check that the display and motor respond. Recheck the connectors after a few rides, since vibration can loosen them again.
Motor Cutouts, Display Errors, and Control Issues
Overheating is a common trigger. The controller may shut the motor down when the motor or battery gets too hot. Let the bike cool for at least thirty minutes.
Overcurrent also causes cutouts. Steep hills, heavy loads, and hard starts pull large amounts of power. Ride in a lower assist level to reduce strain.
Brake sensors can cut power too. Many electric bikes stop the motor when you squeeze a brake lever. Check that each brake lever returns fully to its resting position.
Cold weather can cause a sudden cutout. Batteries lose output when temperatures drop. Keep the battery warm before a ride and let it warm up.
Error codes tell you where to look. Most displays show a number or letter code when something goes wrong. Find the code in the owner manual or manufacturer app to learn its meaning.
A blank or flickering display often points to a loose communication cable. Check the plug between the display and the controller. Make sure it clicks into place.
Software updates can fix odd behavior. Some display errors come from outdated firmware. Check the manufacturer’s website or app for available updates before you start replacing parts.
A stuck throttle can keep the motor running. Press and release the throttle several times. If it sticks, clean around the housing and check for debris.
Stay safe while testing. Test the bike in a clear, flat area. If problems continue, ask a qualified bike technician for help.
Brake and Tire Maintenance to Prevent Recurring Issues
Brakes and tires keep you safe on every ride. They also decide how often you face repairs. Regular checks stop small wear from turning into bigger problems.
Start with tire pressure. Check it before every ride with a simple gauge. Look for the recommended range printed on the tire sidewall. Low pressure wears out tubes faster and makes the motor work harder.
Inspect the tread and sidewalls. Look for cuts, bulges, or small stones stuck in the rubber. Remove debris gently with a plastic tool. Replace the tire when the tread looks smooth or the cords show.
Test brake feel. Squeeze each lever slowly and watch how far it travels. A spongy lever often means air in the hydraulic line or worn pads. A squeal may point to dirt or oil on the braking surface.
Check pad thickness. Most pads have a wear groove or indicator line. Replace them before the lining wears down to the metal backing. Metal contact damages the rotor quickly.
Look at the rotor. Deep grooves, warping, or blue discoloration suggest overheating. Clean the rotor with isopropyl alcohol and a lint free cloth. Avoid touching the braking surface with bare fingers.
Confirm caliper alignment. A caliper off center rubs the rotor and wears pads unevenly. Loosen the mounting bolts, center the caliper, then retighten. Follow the torque range in your owner manual.
Build a simple routine. Do a quick check each week and a deeper inspection each month. Write down tire pressure, pad wear, and any noises. Patterns in your notes help you spot trouble early.
Common Mistakes That Cause E-Bike Trouble, Including Poor Fit and Wrong Bike Type
Many riders blame the motor or battery when an electric bike feels wrong. Yet the real cause often starts with the bike itself. Poor fit and the wrong bike type cause more trouble than most people expect.
Choosing the wrong bike type is a frequent mistake. A rider who needs steady commuting power may buy a light recreational model. The small motor then works hard every day and wears out faster.
Terrain matters too. A bike built for flat city streets struggles on long, steep hills. The motor works hard on climbs, and the battery drains quickly.
Cargo loads also change the picture. A bike rated for one rider may not handle a heavy rear rack and passenger. Check the stated maximum weight before you ride.
Ignoring proper fit creates problems of its own. A frame that is too large or too small affects control, comfort, and pedaling. Riders often push harder on the pedals to compensate, which strains the drive system.
Start with standover height. You should stand over the top tube with both feet flat on the ground. There should be a small gap between you and the frame.
Next, check the saddle height. When the pedal sits at the bottom, your knee should bend slightly. A seat that is too low wastes energy and stresses the knees.
Reach matters too. Your arms should rest with a slight bend at the elbow when you hold the handlebars. Stretching too far or sitting too upright makes steering tiring.
Get the fit right first.
Final Thoughts
Most electric bike problems have simple causes. You can solve many of them at home with patience and a calm check of each part.
Start with the basics every time. Check the tire pressure, test both brakes, and confirm the battery sits firmly and holds a charge. These steps take only a few minutes.
If the bike will not power on, look at the fuse and the connectors next. Loose or damaged wiring causes many cutouts, flickering displays, and weak acceleration. Folding models need extra attention because hinges and tight spaces stress the cables.
Treat the battery with care. Swelling, failed charging, and a sharp drop in range are clear warning signs. Stop using a swollen battery right away and ask a qualified technician for help.
Prevention saves the most time. Adjust your brakes often, replace worn pads and rotors, and keep the tires inflated. Small habits stop big repairs.
Fit and bike type matter too. A frame that suits your body and a bike that matches your terrain reduce strain on every part.
Use error codes as clues. Troubleshooting guides and mechanic video walkthroughs can help you understand what your display tells you.
Write down any codes and the steps you tried. This record helps a mechanic find the cause faster.
Know your limits. Simple checks suit most riders, but internal motor work and battery repairs belong to trained professionals.
Pick a regular schedule, such as one quick inspection each month. A well cared for electric bike rewards you with smooth, reliable miles.
Frequently Asked Questions
Why won’t my electric bike speed up?
Start with the assist settings. Check whether the display shows a low assist level or whether the bike is in walk mode. A speed sensor magnet that sits bent or misaligned can also stop the motor from responding. Straighten the magnet and tighten the sensor bolts.
Why is my battery not charging?
Check the wall outlet first. Plug the charger into a different outlet and watch for the light on the charger. Charging also stops when the battery is too cold or too hot. Let the battery reach room temperature before you try again.
What causes battery swelling?
Swelling usually comes from heat, overcharging, or an aging battery. Stop using the battery right away if the case bulges or feels soft. Keep it away from direct sun and heat sources. Move it to an open area and contact a qualified repair shop.
Why does my electric bike lose range so quickly?
Range drops when the bike carries heavy loads or runs on a high assist level. Steep hills and cold weather also use more power. Choose a lower assist level on flat roads to stretch each charge. Battery age matters too, because older cells hold less energy over time.

Philips is the founder and lead writer at GearheadGarageFinds.com, a passionate automobile enthusiast who has spent years testing, comparing, and reviewing auto products and accessories to help fellow gearheads make smarter buying decisions. When he’s not under the hood or behind the keyboard, you’ll find him exploring the latest automotive innovations and hunting for the best garage finds on the market.