
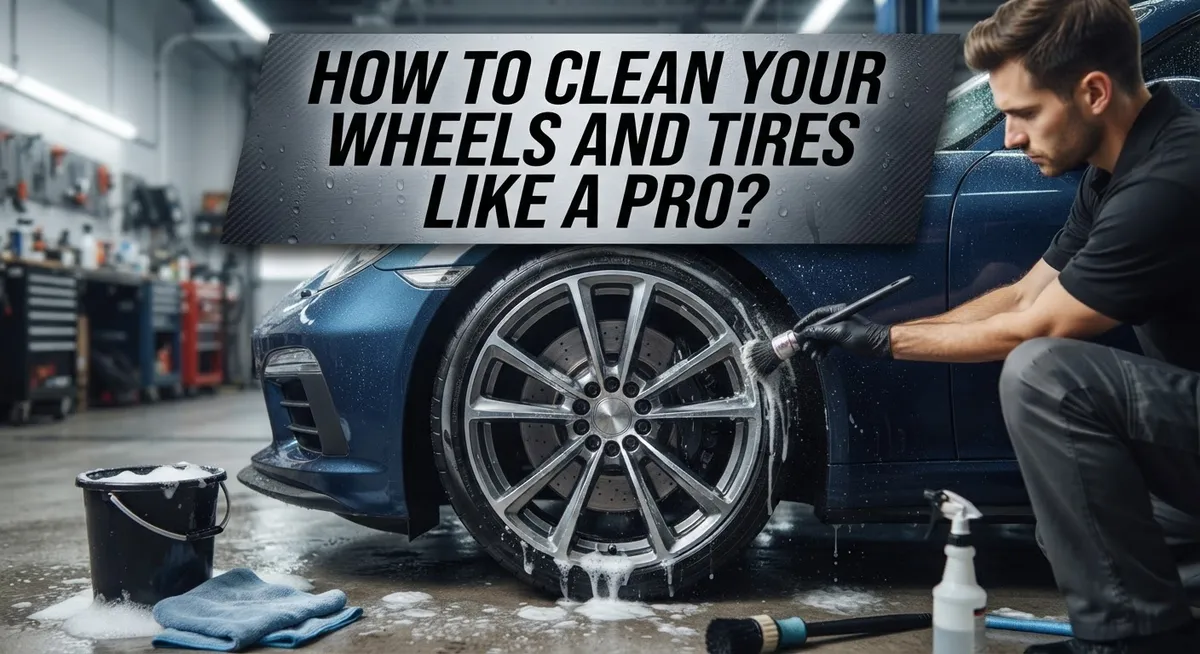
How to Clean Your Wheels and Tires Like a Pro?
Your wheels take a beating every single day. Brake dust, road grime, and dirt build up fast. They can make even a brand new car look tired and neglected.
But here’s the good news. Cleaning your wheels and tires like a pro is not hard at all.
You just need the right steps and a little patience. This guide will show you exactly how to do it.
We will cover everything from picking the right spot to work in, to the final protective coating. You will learn why a pre-rinse matters so much. You will also discover the best way to scrub without scratching your rims.
Many people make simple mistakes that damage their wheels over time. Using a hard brush or spraying cleaner on a dry rim are common errors. We will help you avoid these problems completely.
By the end of this article, you will know how to get that showroom shine every time. Your tires and wheels will look clean, protected, and ready to impress. Let’s get started on giving your ride the care it truly deserves.
In a Nutshell
Cleaning your wheels and tires does not need to feel hard. Here is a quick summary of the whole process.
-
Find shade first. Always work in a cool, shady spot. Direct sunlight dries cleaning products too fast and leaves ugly spots on your rims.
-
Rinse before you scrub. Use plain water to knock off loose dirt and grime. This step stops you from grinding dirt into the metal.
-
Wet before you spray. Never put chemicals on dry wheels. Wet surfaces help the cleaner work properly and break down brake dust fast.
-
Choose soft tools only. Grab a dedicated wheel mitt or a brush with long, soft bristles. Hard brushes cause tiny scratches you cannot fix.
-
Rinse and dry fully. Wash away all the soap completely. Then dry every part with a clean towel to stop water spots from forming.
-
Protect your work. Finish with a protective coating. This simple step keeps your wheels clean longer and blocks new grime.
Why Proper Wheel and Tire Cleaning Matters
Your wheels and tires face constant assault. Brake dust sticks to them. Road grime builds up. Salt and chemicals settle into crevices. Over time, this buildup becomes hard to remove and causes real damage.
Brake dust is the main culprit. When your brakes work, they create fine particles. These particles are acidic and stick to your wheel surfaces. They eat away at protective coatings. Left alone, brake dust causes permanent etching and discoloration.
Dirty wheels affect your vehicle’s overall appearance. Even a clean car looks neglected with grimy wheels. A professional cleaning restores that showroom shine you want. Your wheels are one of the first things people notice.
Regular cleaning extends wheel life significantly. When you remove grime promptly, you prevent corrosion. Corrosion weakens the wheel material. It can lead to cracks and structural problems. Proper cleaning stops this damage before it starts.
Tire health matters too. Grime buildup traps moisture against the rubber. This moisture promotes cracking and dry rot. Clean tires last longer and perform better. They grip the road more effectively when they’re free of buildup.
Protective coatings work best on clean surfaces. If you apply protection over dirt, it won’t bond properly. Your wheels lose the benefit of that protective layer. Starting with a thorough clean ensures any coating you apply sticks well and lasts longer.
Your wheels represent a significant investment. They keep your vehicle safe and looking great. Spending time on proper cleaning prevents expensive repairs down the road. Clean wheels also help you spot problems early. You might notice a bent rim or a tire issue during cleaning. Catching these problems quickly keeps you safer on the road.
Essential Tools and Supplies You’ll Need
Before you start cleaning your wheels and tires, gather the right supplies. Having everything ready saves time and prevents damage to your rims.
Water is your first essential tool. You need a bucket, a hose, or a pressure washer set to low pressure. Water removes loose debris and prepares your wheels for deeper cleaning. High pressure can damage tire sidewalls, so always use gentle settings.
Cleaning solutions designed for wheels work better than regular car soap. General automotive shampoo works for basic maintenance, but dedicated wheel cleaners break down brake dust more effectively. These products target the specific grime that accumulates on rims and tires.
Brushes and mitts matter significantly. Grab a soft brush with long bristles or a dedicated wheel mitt. Hard brushes scratch clear coats and aluminum surfaces. Long bristles reach between spokes and into tire treads where dirt hides. A wheel mitt offers control and prevents accidental scrubbing damage.
You’ll need microfiber towels for drying. Regular towels leave lint and water spots. Microfiber absorbs moisture quickly and won’t scratch your clean surfaces. Have at least two or three towels ready.
Protective coatings finish the job. These products seal your wheels and make future cleaning easier. They repel water and reduce brake dust buildup. Protective solutions come in spray or liquid forms.
Don’t forget safety gear. Wear gloves to protect your hands from chemicals and sharp brake dust particles. Safety glasses shield your eyes from splashing water and cleaning solutions.
Organize all supplies in one spot before starting. This setup prevents running back and forth and keeps your workflow smooth and efficient.
Step-by-Step Guide to Cleaning Your Wheels
Start by positioning your vehicle in a shady area away from direct sunlight. Heat causes cleaning products to dry too quickly, which reduces their effectiveness and can leave streaks on your wheels.
Begin with a pre-rinse step. Use plain water from a hose or a pressure washer on low setting to remove loose dirt, brake dust, and debris. This critical step prevents you from grinding grime into the wheel surface when you scrub. Spray water over each wheel thoroughly until the loose particles wash away.
Next, apply your wheel cleaning solution. Wet the wheels first before spraying chemicals on them. Dry wheels don’t absorb cleaning products well, so the solution won’t work as effectively. Follow the product instructions for how long to let the cleaner sit on the surface.
Grab your soft brush or dedicated wheel mitt and scrub gently. Focus on areas where brake dust accumulates, including between spokes and around the tire sidewall. Use long, gentle strokes rather than aggressive scrubbing motions. Hard brushes scratch the wheel finish, so stick with soft tools designed for this purpose.
Rinse everything completely. Make multiple passes with water to remove all soap residue. Any leftover cleaner will attract dirt and reduce the appearance of your wheels.
Dry your wheels thoroughly with clean microfiber towels. Water spots form when you skip this step, and they’re difficult to remove later. Wipe between spokes and around the entire wheel surface.
Finally, apply a protective coating if you use one. This seals your clean wheels and makes your next cleaning session easier. The coating also helps repel brake dust and grime for weeks.
How to Properly Clean and Restore Your Tires
Tire cleaning requires a different approach than wheel cleaning. Your tires endure constant contact with road surfaces, oils, and environmental contaminants. Understanding proper tire restoration keeps them looking fresh and extends their lifespan.
Start by examining your tire sidewalls and tread. Dirt and grime accumulate in the grooves and along the rubber edges. Pre rinsing with water helps loosen these particles before you apply any cleaning solution. Use moderate water pressure to avoid damaging the tire material.
Apply a tire cleaning product designed specifically for rubber surfaces. These formulas break down oils and dirt without degrading the tire material. Let the solution sit for a minute or two to penetrate stubborn grime. This waiting period increases effectiveness significantly.
Scrub gently using a soft brush or dedicated tire mitt. Focus on the sidewalls where discoloration appears most visible. Work the brush in circular motions along the tire grooves. Avoid aggressive scrubbing that could damage the rubber compound.
Rinse thoroughly with clean water. Make multiple passes to remove all cleaning residue completely. Leftover chemicals can cause premature tire aging and cracking. Ensure water runs clear from the tire surface.
Dry your tires completely using microfiber towels. Moisture trapped on tire surfaces promotes mold growth and deterioration. Pat the sidewalls and tread areas dry before moving to the next step.
Consider applying a tire dressing or protective coating after cleaning. These products restore the tire’s original appearance and provide UV protection. They also make future cleaning easier by preventing dirt adhesion. Apply dressing evenly across the entire tire surface using an applicator pad or cloth.
Regular tire maintenance prevents permanent staining and keeps your vehicle looking showroom ready.
Pro Techniques for Tackling Stubborn Brake Dust and Grime
Brake dust and grime stick to your wheels because of heat and friction. These stubborn deposits require a different approach than basic washing. The key is using the right technique and timing to break down buildup without damaging your wheels.
Start with a pre-rinse step. Water alone removes loose particles before you apply chemicals. Spray your wheels with plain water from a hose or low pressure washer. This step matters because it prevents dry chemicals from sitting on your rims, which reduces their effectiveness.
Apply your wheel cleaning solution generously to all surfaces. Let the product sit for 30 to 60 seconds. This dwell time allows the formula to break down brake dust and grime chemically. Don’t skip this waiting period. The chemical reaction does most of the work for you.
Scrub gently with a soft brush featuring long bristles. Focus on areas where dust accumulates most, like behind the spokes. Use circular motions rather than aggressive scrubbing. Hard brushes scratch clear coats and paint, so stay gentle.
Rinse thoroughly multiple times. One rinse isn’t enough. Make several passes with clean water to remove all soap residue and loosened grime. Incomplete rinsing leaves film that dulls your wheels.
Dry completely with clean microfiber towels. Remaining water spots create a streaky appearance. Work section by section to ensure no moisture remains.
For extra stubborn deposits, repeat the scrub and rinse cycle. Some brake dust buildup requires two applications of cleaner. This patient approach prevents damage while achieving professional results. Your wheels will look showroom ready when you finish.
Common Mistakes That Damage Wheels and Tires
Many car owners damage their wheels and tires without realizing it. Understanding these mistakes helps you keep your wheels looking great for years.
Using hard brushes is a major error. Stiff bristles scratch and swirl your wheel finish. The damage becomes visible under sunlight and reduces your wheel’s shine. Always choose soft brushes or dedicated wheel mitts with gentle bristles instead.
Spraying chemicals on completely dry rims reduces effectiveness. Dry surfaces don’t absorb cleaning solutions properly. Your chemicals sit on top instead of breaking down brake dust and grime. Always pre wet your wheels with plain water first.
Skipping the pre rinse step causes buildup problems. Loose dirt particles scratch your wheels when you scrub. Water removes these particles before you apply any chemicals. This simple step protects your finish from unnecessary damage.
Inadequate drying leaves water spots and mineral deposits. These spots become permanent if you ignore them. Hard water minerals bond to your wheel surface over time. Use clean microfiber towels and dry every surface completely.
Applying wheel cleaner to hot wheels can cause damage. Heat causes chemicals to dry too quickly and unevenly. This leaves residue and can damage the wheel coating. Always work in a shady spot and let wheels cool slightly.
Mixing wheel and tire cleaning products creates problems. Different formulas work on different surfaces. Using wheel cleaner on tires can degrade rubber. Keep your products separate and use them correctly.
Using excessive pressure when scrubbing causes scratches and gouges. Gentle circular motions work better than aggressive scrubbing. Let the cleaning solution do the work while you use light pressure. This approach protects your wheels while removing dirt effectively.
Drying and Protecting Your Wheels After Washing
Drying your wheels properly is just as important as washing them. Wet wheels attract dust and leave water spots that become permanent if ignored. Start by using clean microfiber towels to remove all standing water from your wheel surfaces.
Work section by section around each wheel. Press the towel gently against the rim and tire to absorb moisture. Pay special attention to crevices and spoke areas where water pools easily. These spots dry last and cause the most visible spotting.
Change to a fresh towel if your first one becomes saturated. Wet towels simply move water around instead of removing it. A dry towel absorbs moisture much more effectively and prevents recontamination.
Allow your wheels to air dry completely before driving. Even small amounts of remaining moisture can interact with brake dust and create new buildup. Give wheels at least 15 to 30 minutes of drying time in a shady spot.
Once your wheels are completely dry, you can apply a protective coating. These products create a barrier that repels water, dirt, and brake dust. Protective coatings make your next cleaning session easier and maintain that fresh appearance longer.
Apply the coating evenly across all wheel surfaces using the applicator provided. Follow the product instructions for drying time before driving. Most coatings need 24 hours to cure fully.
Regular protection application extends the time between deep cleaning sessions. Your wheels stay cleaner longer and resist staining from environmental contaminants. This simple step saves you time and effort throughout the year while keeping your wheels looking showroom ready.
Maintaining a Showroom Shine Between Washes
Keeping your wheels looking showroom fresh between full washes requires a simple routine. Spot cleaning prevents brake dust and grime from bonding permanently to your wheel surfaces. This approach saves time and keeps your vehicle looking pristine.
Start by checking your wheels every week for visible dust buildup. Light brake dust appears as a thin gray coating on your wheel face. Catch it early before it hardens and becomes difficult to remove.
Use a spray bottle filled with water to mist your wheels lightly. This quick rinse removes loose particles without requiring a full cleaning session. You can do this during your regular car maintenance routine.
For light dust, a dedicated wheel cleaning product applied with a soft microfiber cloth works well. Spray the cleaner onto your cloth rather than directly on the wheel. Wipe gently in circular motions across the wheel surface.
Focus on the wheel face where dust accumulates most. Don’t forget the inner barrel and around the valve stem. These areas trap debris and need attention too.
Rinse with clean water and dry immediately using a fresh microfiber towel. Leaving water spots defeats your cleaning effort. Air drying can cause mineral deposits that require deeper cleaning later.
Apply a light protective coating every two to three weeks if you use them regularly. This barrier makes future dust removal easier and extends the time between major cleanings.
Keep your routine consistent and simple. Spending ten minutes weekly on spot cleaning prevents the need for intensive scrubbing sessions monthly. Your wheels maintain their showroom appearance with minimal effort when you stay ahead of buildup.
Final Thoughts
Cleaning your wheels and tires like a pro is simple once you know the steps. You don’t need fancy tools or expensive products. You just need the right method and a little patience.
Consistency matters more than intensity. A quick weekly wipe down keeps grime from building up. This makes your deep cleaning sessions faster and easier.
Always remember the basics. Work in a shady spot. Pre-rinse before applying any chemicals. Use soft brushes instead of hard ones.
Protection is not optional. Applying a coating after each wash extends the life of your clean wheels. It also makes future cleaning much simpler.
Your tires deserve the same care as your wheels. Clean rubber looks better and lasts longer. Neglected tires crack and fade faster than protected ones.
Think of wheel care as part of your regular car routine. Just like washing your car body, your wheels need attention too. Skipping this step makes your whole vehicle look less cared for.
Patience during the drying process pays off. Water spots and mineral deposits ruin an otherwise perfect cleaning job. Take the extra few minutes to dry every surface completely.
Small efforts create big results over time. Each cleaning session builds on the last one. Your wheels stay brighter and your tires stay healthier.
Anyone can learn these techniques with practice. You don’t need professional training to get professional results. Just follow the steps consistently and treat your wheels with care.
Your car deserves this attention. Clean wheels and tires boost your vehicle’s overall appearance instantly. They also protect your investment for years to come.
Start today with a proper cleaning session. Your wheels will thank you with a lasting shine.
Frequently Asked Questions
What is brake dust and why does it damage wheels?
Brake dust forms when your brake pads wear down during normal driving. This dust contains metal particles and bonds to your wheel surfaces. Brake dust is corrosive and can permanently damage wheel finishes if left sitting for weeks. The longer it stays on your wheels, the harder it becomes to remove. Regular cleaning prevents this damage from happening.
Can I use the same soap I use on my car body to clean wheels?
No, you should not use body wash on your wheels. Body soap is too mild for brake dust and grime removal. Wheel cleaners are formulated differently to break down tough deposits that body shampoo cannot handle. Using the wrong product wastes your time and leaves your wheels dirty. Always use a dedicated wheel cleaning product for best results.
Why should I pre-rinse my wheels before applying cleaner?
Pre-rinsing removes loose dirt and debris from your wheel surface. This step prevents you from grinding grit into your finish while scrubbing. When you spray cleaner on dry wheels, it sits on top instead of working properly. Wet surfaces allow the chemical to activate and break down stuck on grime more effectively. Skipping this step means you will scrub harder and longer than necessary.
Is it better to clean wheels in direct sunlight or shade?
Always work in a shady spot when cleaning your wheels. Direct sunlight dries your cleaner too quickly before it can work. This reduces how well the product removes brake dust and grime. Shade gives you more time to scrub and rinse properly. You will see much better results when you take your time in cooler conditions.
How often should I deep clean versus do light maintenance?
Light weekly cleaning keeps dust from building up on your wheels. A quick spray and wipe takes just minutes. Deep cleaning with full scrubbing should happen every two to four weeks depending on driving conditions. If you drive in dusty areas or brake heavily, clean more often. Regular light maintenance means you spend less time on deep cleans.

Philips is the founder and lead writer at GearheadGarageFinds.com, a passionate automobile enthusiast who has spent years testing, comparing, and reviewing auto products and accessories to help fellow gearheads make smarter buying decisions. When he’s not under the hood or behind the keyboard, you’ll find him exploring the latest automotive innovations and hunting for the best garage finds on the market.


